
2. Dashboard Overview
The LineagePress Dashboard is the central control panel for managing your genealogical data, monitoring activity, and configuring plugin settings. It provides at-a-glance insights into your data and quick access to essential tools.
To access the dashboard, navigate to LineagePress in the WordPress admin sidebar.
Next to the LineagePress Dashboard title, a license status indicator displays your current license state:
- ✅ Pro (Lifetime / Yearly): Your Pro license is active.
- ⚠️ Grace Period: Your yearly license has expired, but you are currently within the grace period.
- Unlicensed Version: You are using the free version or no license is active.
Dashboard Navigation Tabs
The dashboard is organized into several tabs, allowing you to quickly switch between functional areas:
- Overview (default) – Displays a summary of your genealogical data, quick actions, and helpful resources.
- Configuration – Controls how LineagePress displays information, manages sharing options, and integrates with your website.
- Database – Provides tools for maintaining and managing your LineagePress database.
- Diagnostics – Assists with troubleshooting issues related to your LineagePress installation or server environment.
- Activity Log – Displays a chronological record of actions and events within LineagePress.
- License (Pro Version) – Manages LineagePress Pro license activation and deactivation.
Overview Tab
The Overview tab is displayed by default when you open the LineagePress dashboard. It is designed to give you a high-level snapshot of your data and guide you through common tasks.
Welcome Notice (New Users)
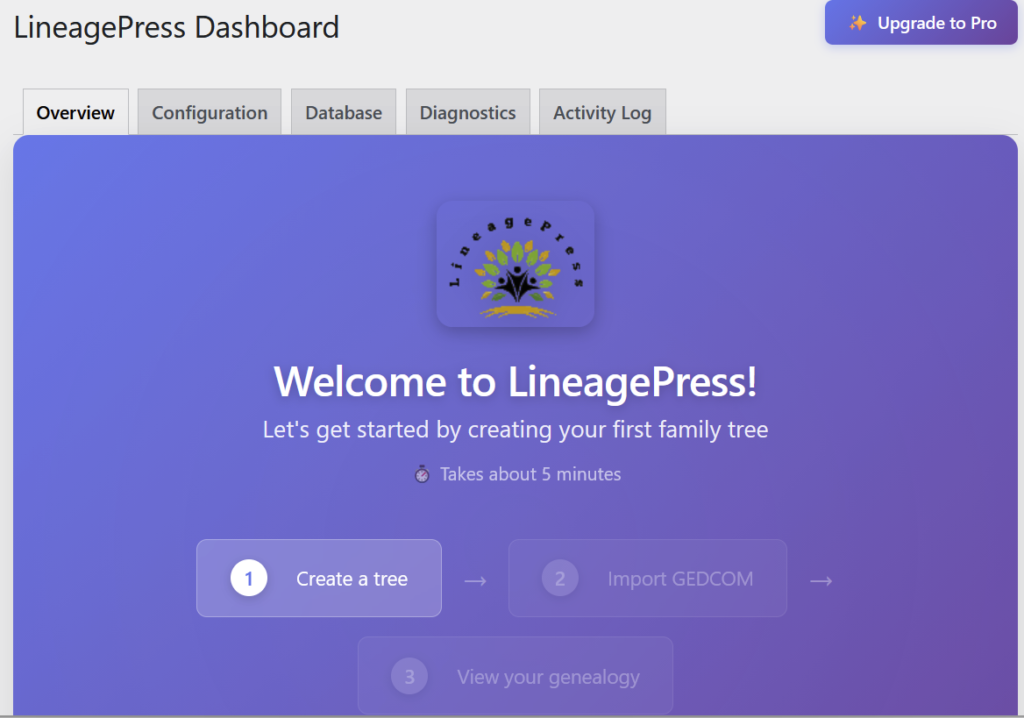
If no family trees have been created yet, a prominent “Welcome to LineagePress!” banner is displayed. This banner includes your site logo (if available) and provides step-by-step guidance to help you get started:
- Create a Tree – Set up your first family tree.
- Import GEDCOM – Upload genealogical data using a GEDCOM file.
- View Your Genealogy – See your family tree displayed on your website.
A large 🚀 Create Your First Tree button directs you to the tree creation page.
Filter by Tree
If multiple family trees exist, a Filter by Tree dropdown appears. This allows you to view statistics and activity for a specific tree.
- All Trees: Displays aggregated data across all trees.
- Individual Tree Selection: Displays data related only to the selected tree.
Statistics Grid
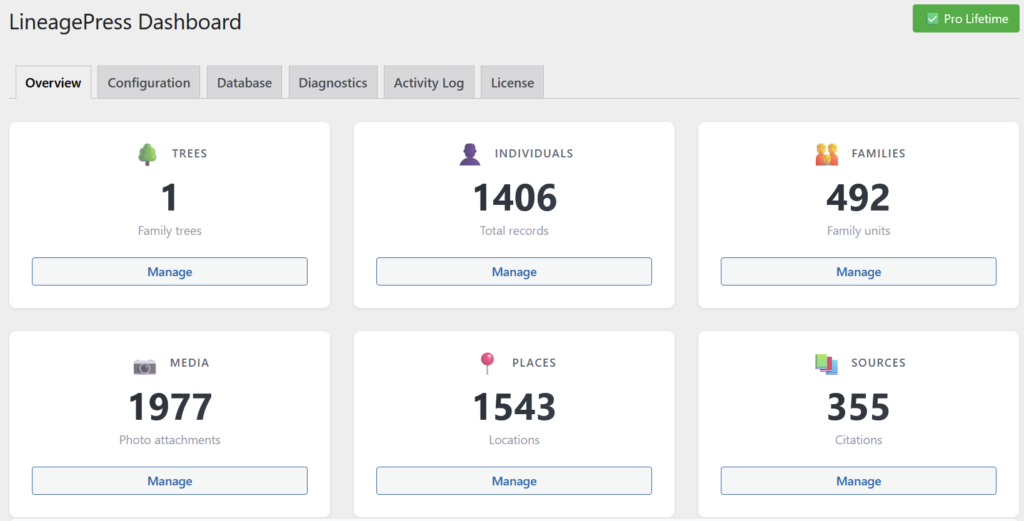
Each card displays:
- Total count
- Icon
- Descriptive subtitle
- Manage button linking to the relevant management page
Quick Actions

This section provides shortcuts to frequently used tasks:
- View Frontend
Opens the public-facing genealogy pages in a new browser tab. - Add a Tree
Navigates directly to the tree creation page. - Import Data
Opens the import/export page for uploading GEDCOM files.
Post-Import Suggestions
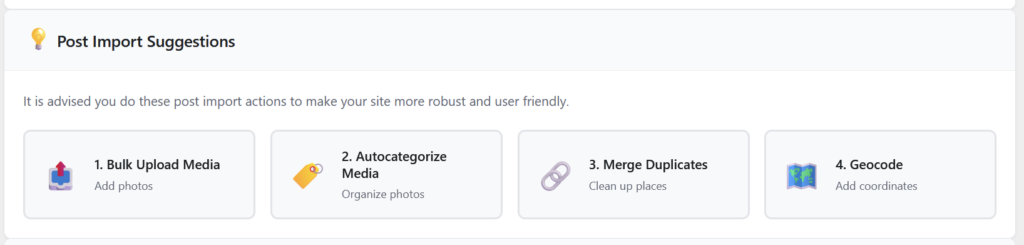
After importing genealogical data, recommended next steps are displayed to help enhance your site:
- Bulk Upload Media – Upload multiple photos or documents simultaneously.
- Autocategorize Media – Automatically organize uploaded media files.
- Merge Duplicates – Consolidate duplicate or similar place entries.
- Geocode – Add geographic coordinates to place entries to enable map features.
Help & Documentation
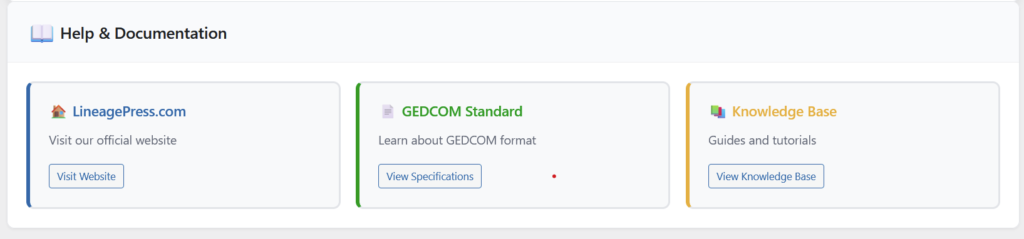
Helpful resources are presented as styled cards for easy access:
- LineagePress.com
The official LineagePress website. - GEDCOM Standard
Links to GEDCOM.io specifications for understanding the GEDCOM file format. - Knowledge Base
Access to LineagePress guides, tutorials, and documentation.